While work continues on this site, this information and links will assist with migrating to the new mail system.
The manual settings:
| Service | Server | Supported Protocols |
|---|---|---|
| Incoming Mail | mail.otsc.com | POP3/IMAP |
| Incoming Mail (Secure) | gator1391.hostgator.com | POP3S/IMAPS (SSL/TLS) |
| Outgoing Mail | mail.otsc.com (Port 26) | SMTP (Server requires authentication) |
| Outgoing Mail (Secure) | gator1391.hostgator.com (Port 465) | SMTPS (SSL/TLS) (Server requires authentication) |
The following videos come courtesy HostGator, the new home of On The Spot Communications.
For the following, use the server name: activesync.otsc.com (This functionality provides Android and iPhone users with real-time mail synchronization instead of the typical polled update)
To access webmail, the address is now:
Use your entire e-mail address (username@otsc.com) for logging in. The system will no longer recognize you just by username.
Enter your password
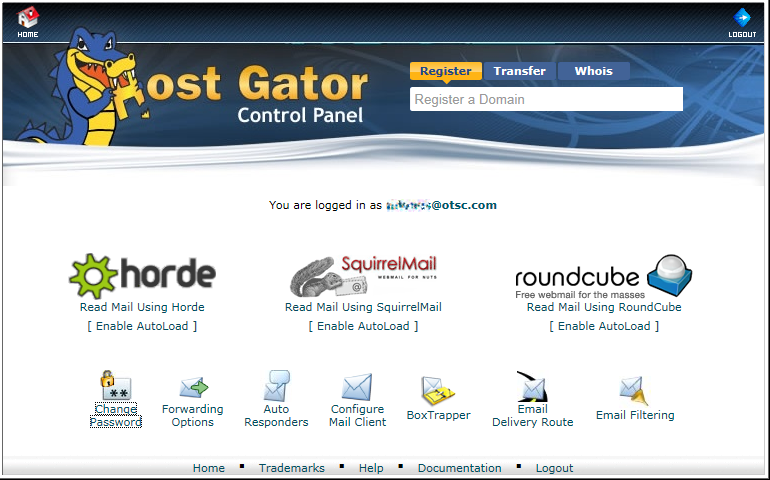
You will be presented with the HostGator Control Panel:
From here, you can change your password, configure your PC's mail client, and launch Webmail. If you liked what was previously used at otsc.com, select Horde. If you like the program you selected, you can Enable AutoLoad, and that mail reader will launch after a brief pause each time you log in.
Using Horde on the old server, as well as on the new server, you can copy and restore messages from the old system. Log into Horde on the old system, and go into the Mail page. From there, click on Folders in the header:
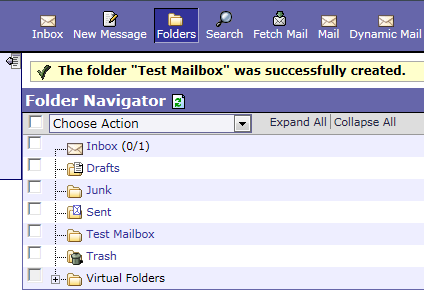
Select the folder you want to copy by marking the box next to it. Under Choose Action, select Download (Careful! Do Not Select "Download [.zip format]"). The system will then create and download a file. Save the file and repeat until all folders you wish to save a backed up.
Connect to the new webmail and launch Horde. Again, return to the Folders screen. To create a new folder, click "Create" from the Choose Action menu. Enter the name you want to call the folder. Select the created folder, and click on "Import Messages" in the Choose Action menu. This will prompt for the file saved earlier.